Introduction to Discovery Environment
The Discovery Environment (DE) was designed to be an all-purpose bioinformatics workbench – tailored to the needs of biologists who have data to analyze but who may not have command line expertise. Most of the popular bioinformatics analyses (e.g. genome assembly, RNA-Seq, phylogeny methods, GWAS, etc.) can be done from start to finish within the DE.
Example analysis in the Discovery Environment
This example demo covers the basic steps of using a bioinformatics application (in this case using MUSCLE to generate a multiple sequence alignment) within the DE. All the other DE applications have similar interfaces and work in a similar way. For a list of all the current applications see: List of DE Apps
- Login to the Discovery Environment
- Click Apps from the DE workspace and select the aligner MUSCLE-3.8.31 (Location: Public Apps > Sequence Alignments > Simple). Click on the actual app name.

- Under “Analysis Name” leave the defaults or make any desired notes.
- Under “Select Input data” click Browse, then navigate to and select the DE_sample_plants.fas file. (Location: Community Data > iplant_training> de_walkthough). Then click OK.
- Under “Sequence Type”, select DNA, and then click Launch Analysis. You will receive a notification and may close the Apps window.
- Click on Analyses from the DE workspace and monitor the status of your submitted job (You may have to click refresh to view updated status).
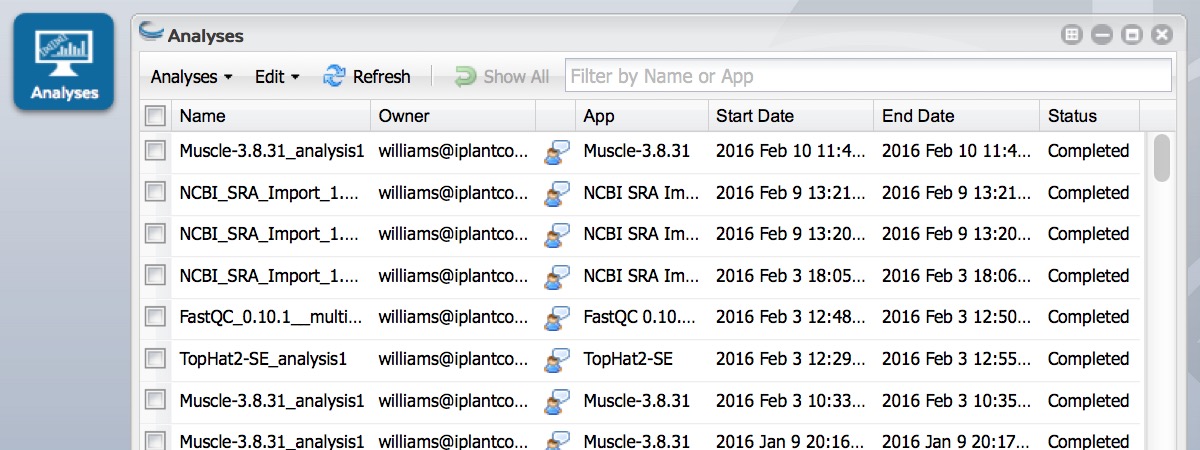
- In the Analysis console, once your status appears as ‘Completed,’ click on the name of your analysis. (You could also navigate to your expected output folder from the Data console, by default: your_iplant_username > analyses).
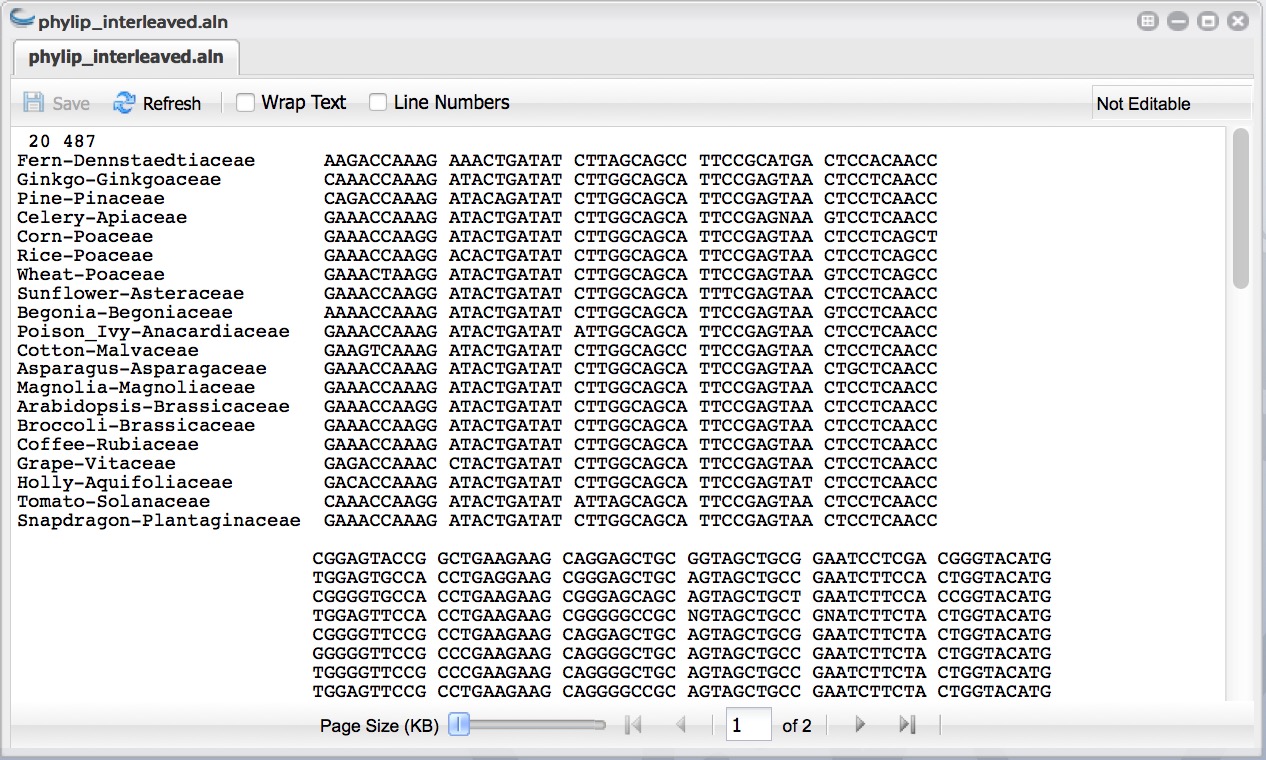
- You should have a folder (named according to your job title) with the following outputs: “logs” - (a folder of log files), “clustalw.aln”, “fasta.aln”, “phylip_interleaved.aln”, and “phylip_sequential.aln”.
- Click the phylip_interleaved.aln file to view your aligned sequences. You can download these outputs or use them in further analyses.
Exercise - Quality control of High-throughput sequencing reads with FastQC
FastQC allows you to generate reports and graphs that describe the quality of sequencing runs. Try this App in the DE.
- Login to the Discovery Environment
- Click Apps from the DE workspace and select the aligner FastQC 0.10.1 (Location: Public Applications > NGS > QC and Processing ). Click on the actual app name to run the App.
- Under “Analysis Name” leave the defaults or make any desired notes.
- Under “Select Input data” for ‘Input file, click Browse, then navigate to and select the SRR1028781.fastq file. (Location: Community Data > iplant_training> ars_workshop>fastqc ). Then click OK.
- Click Launch Analysis. You will receive a notification and may close the Apps window.
- Click on Analyses from the DE workspace and monitor the status of your submitted job (You may have to click refresh to view updated status).
- In the Analysis console, once your status appears as ‘Completed,’ click on the name of your analysis to navigate you to the results. Download SRR1028781_fastqc.zip using the simple download, unzip the files and open the results in a web browser.